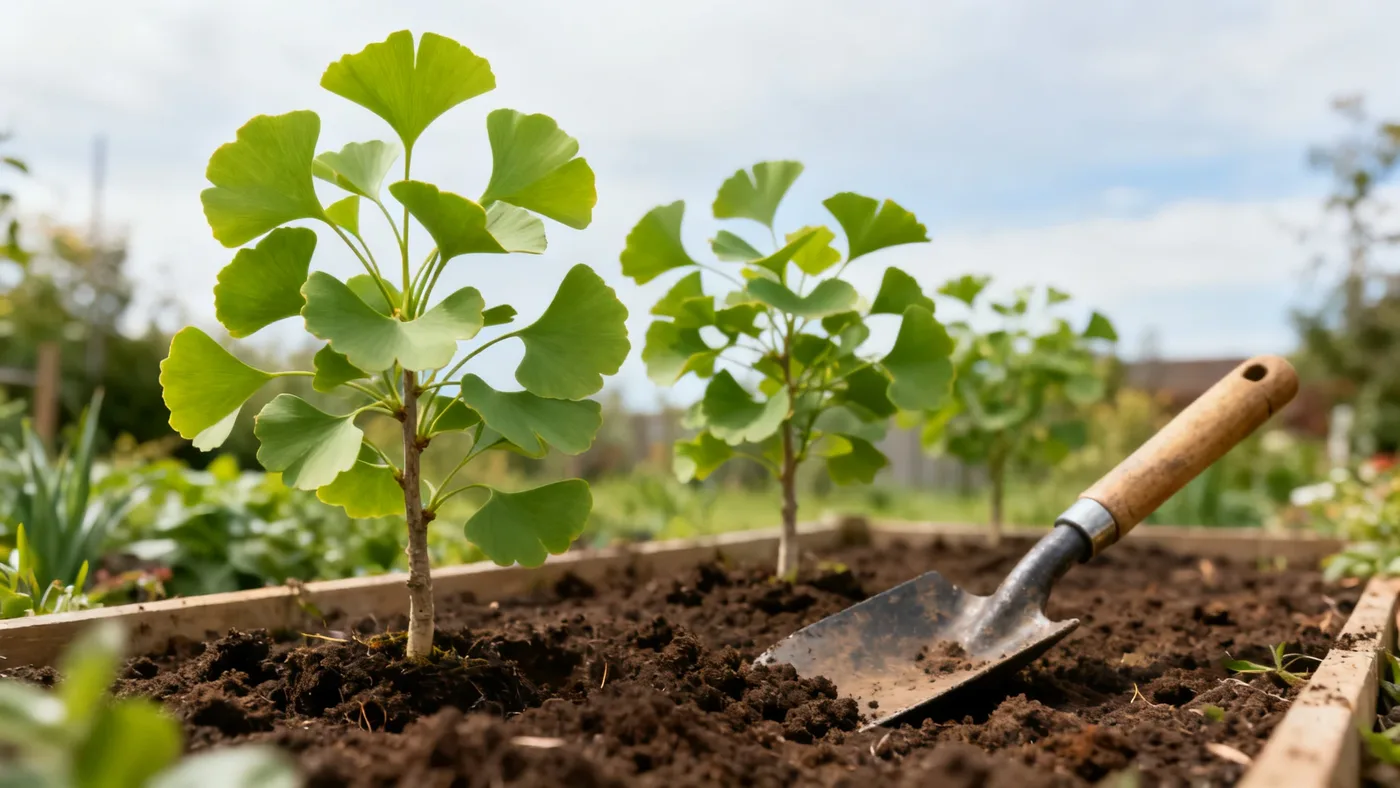
How to Plant a Ginkgo Maidenhair Tree the Right Way
Planting a Ginkgo Maidenhair Tree (Ginkgo biloba) is straightforward, but the details matter. Get the location, soil, and initial care right from the start, and your tree will thrive for decades. Ginkgos are remarkably forgiving once established, yet the first year sets the tone. This guide walks you through every step of the planting process, from choosing your site to establishing your young tree.
Understanding Your Climate and Site
Before you dig, confirm that your area falls within USDA zones 3 through 8 (some sources include zone 9, so check your local extension if you're on the edge). Ginkgos adapt to a wide range of conditions, but they need full sun, roughly 6 to 8 hours of direct daily light. Part-shade will slow growth and reduce fall color intensity.
Site selection goes beyond sunlight. Ginkgos tolerate compacted urban soils, road salt, and pollution that would stress other large trees. This hardiness makes them popular street trees, yet they'll perform better in deep, loamy, well-drained soil if you have the option. They also accept sandy, clay, and mixed soils across a pH range of 5.0 to 8.0, so soil testing is usually not necessary unless your yard is extremely acidic or alkaline.
Consider the mature size. Standard Ginkgo forms reach 25 to 50 feet tall and 25 to 35 feet wide. Space them 25 to 30 feet apart from other large trees or structures. If space is tight, narrow columnar cultivars such as 'Princeton Sentry' and 'Fastigiata' grow 8 to 15 feet wide, a good fit for tighter landscapes. Dwarf forms like 'Jade Butterflies' stay shrub-like and work in containers for a period, though they're not permanent container plants.
One critical detail: choose a male cultivar. Female Ginkgos produce fleshy seed coats in fall that decompose with a strong, unpleasant rancid odor. Named male cultivars like 'Autumn Gold', 'Saratoga', and the columnar types eliminate this problem. Most nursery-grown trees sold for landscaping are males, but always confirm with the nursery or label before purchase.
Materials and Tools You'll Need
- Ginkgo Maidenhair Tree (container-grown, usually sold in quart, #1, or #3 containers)
- Shovel (round-point for digging, square-point for moving soil)
- Garden hose or watering can
- Mulch (wood chips or shredded bark, 2 to 3 inches deep)
- Soil amendment (compost or aged bark, optional but helpful in poor soil)
- Pruning shears (for removing damaged roots or branches)
- Stake and tie (soft tree tie or cloth strips, if staking is needed for windy sites)
- Gloves (protective, especially if handling fallen seed pulp later)
- Soil pH test kit (optional, only if soil is visibly extreme)
Timing and Planting Season
Spring or fall planting both work well for Ginkgos. Spring planting (March through May, depending on your zone) gives the tree the full growing season to establish roots before winter. Fall planting (September through November) allows the tree months of dormant establishment before spring growth begins. Either window is effective. Choose whichever fits your schedule and local weather patterns.
Plant when the soil is moist but not waterlogged. Avoid planting during heat waves or extreme cold snaps. A mild, overcast day is ideal. If you've purchased a bare-root tree (less common for Ginkgos), plant immediately after delivery while the roots are dormant and the tree is still under stress.
Step-by-Step Planting Guide
Step 1: Prepare the Hole
Dig a hole as deep as the root ball and two to three times as wide. A Ginkgo in a #1 container typically needs a hole roughly 18 to 24 inches wide. The width matters more than the depth. A wide, shallow hole encourages roots to spread outward; a deep, narrow hole can trap water and cause rot. Loosen the soil at the bottom with your shovel, breaking up any compacted layers.
Step 2: Inspect the Root Ball
Remove the tree from its container and examine the roots. If roots are tightly coiled or bound (root-bound), gently score the sides and bottom of the root ball with your shovel or pruning shears, making three to four vertical cuts about an inch deep. This encourages roots to branch outward into surrounding soil. If roots look healthy and unbound, leave them as is.
Step 3: Position the Tree
Place the tree in the hole so the top of the root ball sits level with or slightly above the surrounding ground. The buried stem can rot if it's below soil level. Step back and visually check that the tree stands upright. Adjust soil under the root ball until the tree sits at the right height and angle.
Step 4: Backfill the Hole
Refill the hole with soil from the excavation. In poor or clay soils, mix in 20 to 30 percent compost or aged bark by volume to improve drainage and structure. Don't add excessive amendment (more than half compost) as this can create a textural boundary that traps water. In good loamy soil, native soil alone is fine. Fill the hole gradually, firming the soil with your foot every few inches to eliminate large air pockets.
Step 5: Water Thoroughly
Water the newly planted tree deeply with a hose, saturating the soil to a depth of 8 to 12 inches. Water gently enough that you don't wash away soil. This settles the soil and fills air gaps. The tree should feel firmly planted but not compacted.
Step 6: Apply Mulch
Spread 2 to 3 inches of mulch around the tree, extending from about 6 inches from the stem to the drip line (the outer edge of the canopy). Keep mulch a few inches away from the trunk itself to prevent rot. Mulch conserves moisture, regulates soil temperature, and reduces weeding chores. Wood chips or shredded bark work well. Avoid piling mulch against the trunk like a volcano, a common mistake that promotes disease.
Initial Care After Planting
Water regularly for the first growing season. Young Ginkgos establish slowly, taking several months to produce new roots. Water deeply (8 to 12 inches down) once or twice per week if rain doesn't provide an inch of moisture weekly. After the first year, Ginkgos tolerate periods of drought once established, but consistent moisture during year one speeds establishment.
Prune minimally the first year. Remove any dead, broken, or crossing branches, and keep a single central leader (main trunk). Avoid heavy pruning as this stresses the young tree. If you must stake the tree (on very windy sites), use a soft tie that won't cut bark, and remove the stake after the first year to allow the trunk to strengthen.
Do not fertilize at planting time. Most soils have sufficient nutrients. A balanced, slow-release fertilizer applied in early spring of year two can help stressed or slow-growing trees, but routine feeding is unnecessary if the tree looks healthy. Ginkgos grow at roughly 12 inches per year, faster (up to 24 inches yearly) in ideal conditions while young, so patience is key. Slow, steady growth is normal and preferred.
Monitor for the occasional pest. Mealybugs and scale insects occasionally appear but rarely cause serious damage. An insecticidal soap handles outbreaks if needed. Ginkgos are essentially disease-free, so fungal or bacterial issues are rare even in humid climates.
Common Mistakes to Avoid
Planting Too Deep: The top of the root ball should sit at or slightly above grade. Burying the stem in soil invites rot and weakens the tree's base.
Over-Watering After Establishment: Once the tree roots into surrounding soil (usually by late summer of year one), reduce watering unless the soil is visibly dry. Ginkgos tolerate average moisture and drought. Soggy soil is the main threat.
Choosing a Female Tree: This is the biggest mistake. Female Ginkgos bear foul-smelling fruit. Even if the nursery doesn't label the tree's sex, ask directly. Cultivars like 'Autumn Gold', 'Princeton Sentry', and 'Fastigiata' are confirmed males.
Planting in Shade: Ginkgos need full sun. Shade reduces growth rate and fall color brilliance. Choose a sunnier spot if possible.
Amending Soil Excessively: While compost helps poor soils, too much amendment (especially high-cost mixes) can create drainage problems. Ginkgos adapt to native soil. Simple, modest improvement is enough.
Pruning Too Aggressively: Ginkgos need minimal pruning. Heavy removal of branches the first few years weakens the tree. Prune only dead, crossing, or competing branches while young to establish one clear leader.
What to Expect in Year One and Beyond
Year one is the critical establishment period. The tree may grow slowly (6 to 12 inches of new growth) as it prioritizes root development over visible aerial growth. This is normal and healthy. By year two and three, growth accelerates noticeably. The tree gains 12 to 24 inches annually in ideal conditions, though slower growth is common in urban or clay soils.
Fall color emerges around mid-to-late October, depending on your zone. Ginkgo foliage turns a brilliant, uniform golden yellow and often drops within a few days in a dramatic display. In year one, the tree may show less vibrant fall color than mature specimens, but the display improves as the tree establishes.
Ginkgos are long-lived trees. Landscape maturity is reached around 20+ years, but the species commonly lives several hundred years with some historic specimens in China documented over 1,000 years old. Your newly planted tree is an investment in multi-generational landscape value.
For detailed ongoing care through the years, refer to our Ginkgo Maidenhair Tree care guide, which covers pruning, watering, and seasonal maintenance in depth.
Planting Quick Reference
| Task | Timing / Details |
|---|---|
| Check hardiness zone | Zones 3-8 (zone 9 possible; verify with local extension) |
| Choose male cultivar | 'Autumn Gold', 'Princeton Sentry', 'Fastigiata', 'Saratoga', or 'Jade Butterflies' |
| Select site | Full sun (6-8 hours direct light); space 25-30 ft apart (8-15 ft for columnar types) |
| Planting season | Spring (March-May) or fall (September-November) |
| Hole size | 2-3 times as wide as root ball; as deep as root ball |
| Soil pH | 5.0-8.0 (highly adaptable; testing not required unless extreme) |
| Backfill amendment (optional) | 20-30% compost in poor soils; not needed in decent loam |
| Water after planting | Deep watering to 8-12 inches; repeat weekly for first growing season |
| Mulch | 2-3 inches, 6 inches from stem; wood chips or shredded bark |
| First-year pruning | Remove only dead, broken, or competing branches; keep one central leader |
| Staking | Only on very windy sites; use soft tie and remove after year one |
| First-year growth (expected) | Slow: 6-12 inches; accelerates to 12-24 inches/year by year two |
| Fall color timing | Mid-to-late October; brilliant golden yellow; drops within a few days |